Servings: 16
Ingredients
- 3 heads organic garlic, peeled, rinsed, and dried
- 1 cup raw honey
Instructions
- Crush or cut the garlic cloves in half to release their juices. This will make it easier for beneficial microbes to access the juice and accelerate the fermentation process.
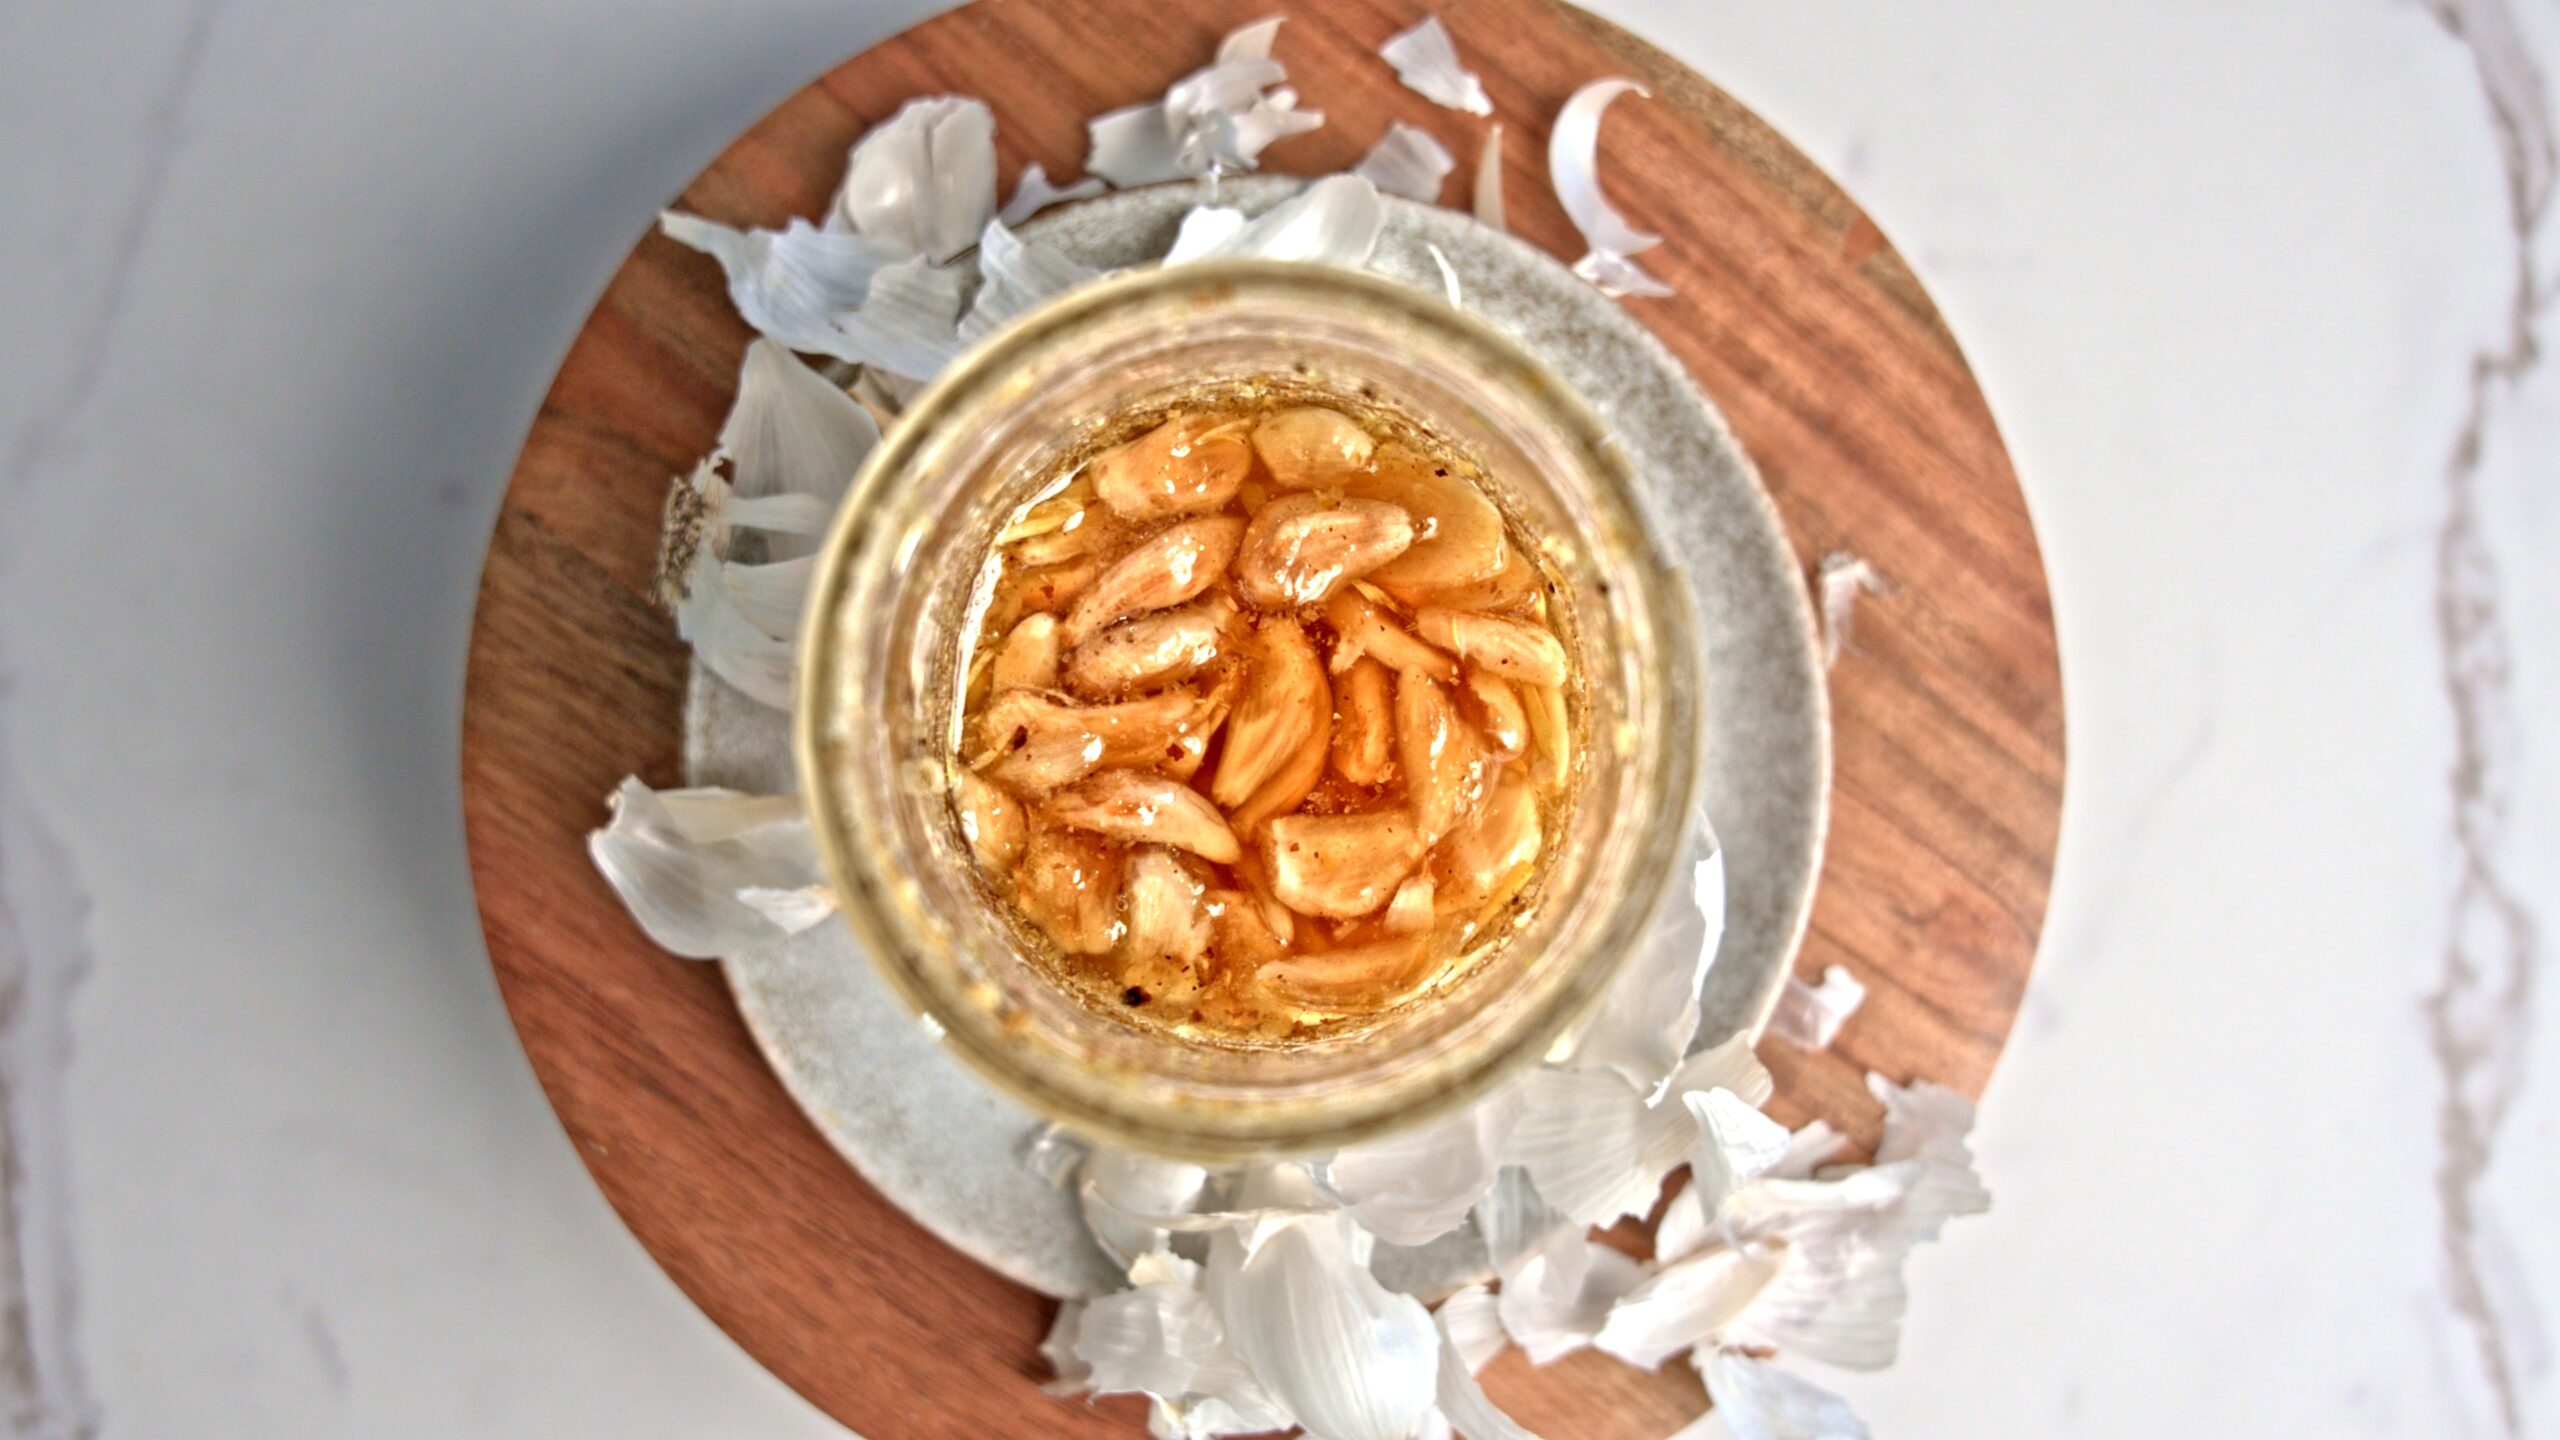
- Place the garlic cloves into a clean, sterilized jar.
- Pour the raw honey over the garlic cloves, ensuring all the garlic is submerged but leaving about 1 inch of headspace at the top of the jar to allow for bubbling during fermentation.
- Stir or gently shake the jar to ensure the honey coats the garlic evenly.
- Screw the lid on tightly. Alternatively, use a fermentation lid or airlock system if available (although absolutely not necessary for this type of ferment).
- Place the jar in a cool, dark place. After a few days, bubbles will form, indicating active fermentation.
- Open the lid daily to allow gases to escape during fermentation. Stir or gently flip the jar to redistribute the honey and ensure all the garlic is coated. After a few days, bubbles will form, indicating active fermentation.
- After the first two weeks, burping won’t be needed as often, but keep an eye on the ferment. Burp as needed and stir or flip the jar occasionally to keep the garlic fully coated in honey.
- Over time, the honey will become thinner as it absorbs moisture from the garlic, and the fermentation process progresses.
- After 2–4 weeks, the garlic honey will be fermented and ready to use. The garlic will be less pungent.
- Allow to ferment for ~4 weeks for lactic acid bacteria (LAB) to be at their highest levels. After this time, fermentation becomes less active as the acidity increases, and the bacterial count may decline.
Video
Notes
-Feel free to adjust the amount of garlic and honey—just make sure there's enough honey to fully coat and submerge the garlic for proper fermentation.
-You may also use a fermentation weight to submerge the garlic if you have one; therefore, you won’t have to flip the jar to coat the garlic daily.
-After a few weeks, the activity of the microorganisms slows down as the environment stabilizes. Once this happens, you can safely screw the lid on tightly without worrying about excessive gas buildup (although you can still check the jar occasionally for signs of pressure buildup).
-Store the jar in a cool, dark place, such as a pantry or cupboard, at room temperature (preferably between 60–75°F or 15–24°C).
-Avoid exposing the jar to direct sunlight or extreme heat, which can degrade the honey and affect the fermentation.
-Properly fermented garlic honey can last for months or even years when stored in ideal conditions.
-Refrigerate after a month if you want to preserve the current taste and not worry about spoilage. Refrigerated garlic fermented in honey can last a year or more.
Nutrition
Calories: 72kcal | Carbohydrates: 19g | Protein: 0.4g | Fat: 0.03g | Saturated Fat: 0.004g | Polyunsaturated Fat: 0.01g | Monounsaturated Fat: 0.001g | Sodium: 2mg | Potassium: 32mg | Fiber: 0.2g | Sugar: 17g | Vitamin A: 0.5IU | Vitamin C: 2mg | Calcium: 11mg | Iron: 0.2mg
Nutrition values are approximate and may vary.
Have you tried this recipe?Comment below and tell us about it on Instagram! @wholeshenanigans