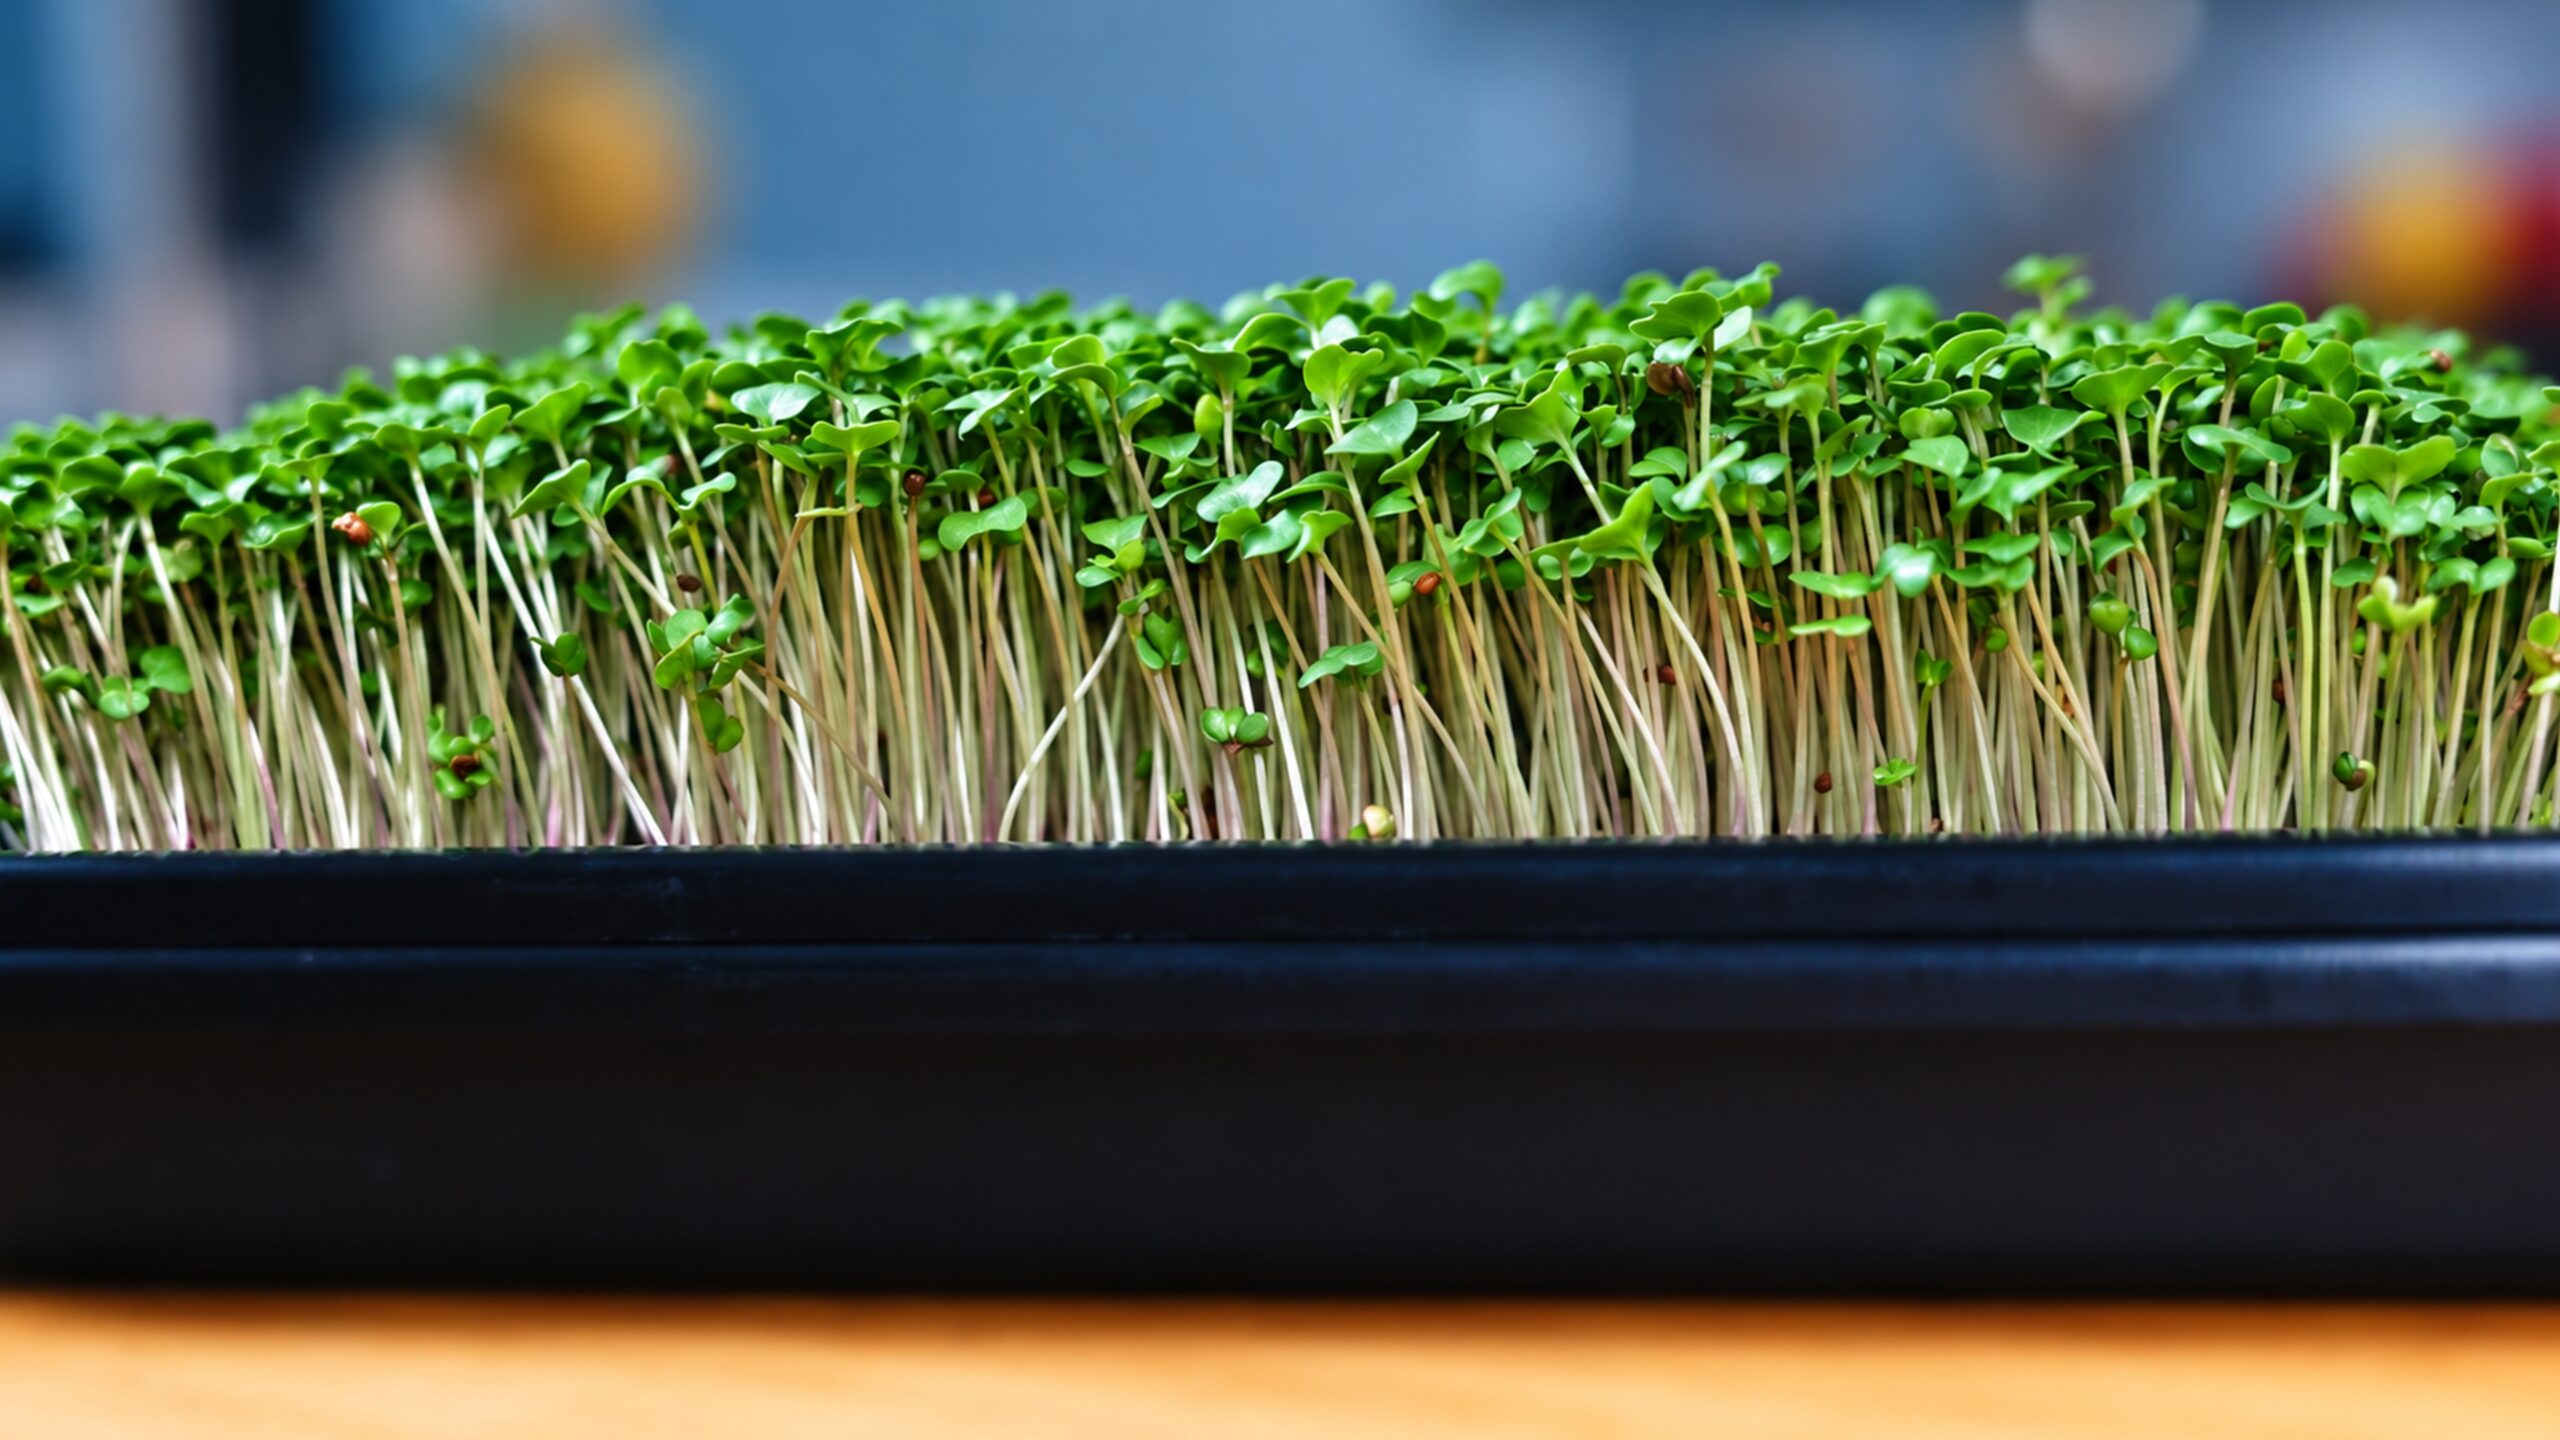
Servings: 1 tray
*This content includes affiliate links. I may earn from qualifying purchases. Thanks for your support!
Equipment
- 2 shallow trays one with drainage holes, one without (any shape works; mine are about 10 x 10 inches and 1¼ inches deep)
- 1 additional tray, to cover the seeds during blackout
- a few pounds of weight (a brick works well)
- bright window
- grow light (optional)
- 5 gallon buckets (optional)
Instructions
Soak (large seeds only)
- If you're growing a large seed like sunflower, soak it overnight to soften the seed coat, then drain. Skip this for small seeds like broccoli, clover, and amaranth.
Prep the tray
- Fill the tray with holes about 1 inch deep with growing medium. I use half seed-starting mix and half coco coir; either works alone, and so do hemp mats.
- Use an extra tray to press the surface down lightly so it's smooth and even, then lift it off. Don't compact the medium; you want it light and airy. An uneven surface means uneven growth and poor airflow.
- Dampen until it feels like a wrung-out sponge. Moist, not soggy.
Sow
- Spread seed evenly across the surface in a single dense layer. Enough for a full mat, but not so much that airflow is restricted. Don't bury it.
- Mist so the seeds stick to the medium.
Blackout
- Cover with the extra tray and set the weight on top. The weight improves seed-to-soil contact and keeps the seeds from drying out. (Leave the weight off for tiny seeds like amaranth.)
- Leave covered for a few days, usually two to five, depending on the seed. You shouldn't need to add water during blackout; the cover holds in moisture. If you check and the surface has dried out, a light mist is enough.
- You'll know it's time to uncover when the seeds have cracked, seedlings are pushing upward, and roots have formed. Don't confuse tiny white root hairs with mold; they're a good sign.
Light
- Remove the cover and weight, and move the tray to a bright window, ideally south-facing, or under a grow light. They'll be pale yellow at first and turn green within a day.
- If you're using a grow light, aim for 12–16 hours a day and follow your light's distance guidance (usually about a foot above). Too far and they stretch; too close and they scorch.
Water
- Bottom-water as needed, usually about once a day: pour water into the bottom tray, let the medium absorb it, then drain off the excess. Same wrung-out sponge rule.
- Keep a fan somewhere nearby. It's the best mold prevention there is.
Harvest
- For most varieties, cut when the seed leaves (cotyledons) are fully open and before the true leaves develop. Wait too long, and the texture turns fibrous, and the flavor gets strong.
- Use scissors or a knife and cut just above the medium. The roots stay behind.
Video
Notes
-Want the numbers? I don't like numbers, but they help when you're starting out. The FREE Microgreens Cheat Sheet has exact seed amounts per tray, blackout days, and harvest windows for nine varieties, plus a fix-it table for when something goes wrong. Tape it above your trays.
-* Seeds: Organic and untreated seeds are ideal (broccoli or clover are easy for beginners)
-Sprouts vs. microgreens: Sprouts grow in water with no soil, are done in 3–5 days, and you eat the whole thing. Microgreens grow in a medium, take 1–2 weeks, and you cut and eat only the stem and leaves.
-Amaranth: Molds a little more easily than most. I grow red garnet amaranth in 100% coco coir instead of the 50/50 mix and pay extra attention to airflow.
-Sunflower: Once the tray is in the light, knock off any seed hulls that come loose easily.
-Mold: Looks like a disorganized web, not the tidy root hairs. If I find it, I throw out the whole tray, because there can be growth you don’t see.
Have you tried this recipe?Comment below and tell us about it on Instagram! @wholeshenanigans